


Overcoming Visibility Challenges in Industrial Automation
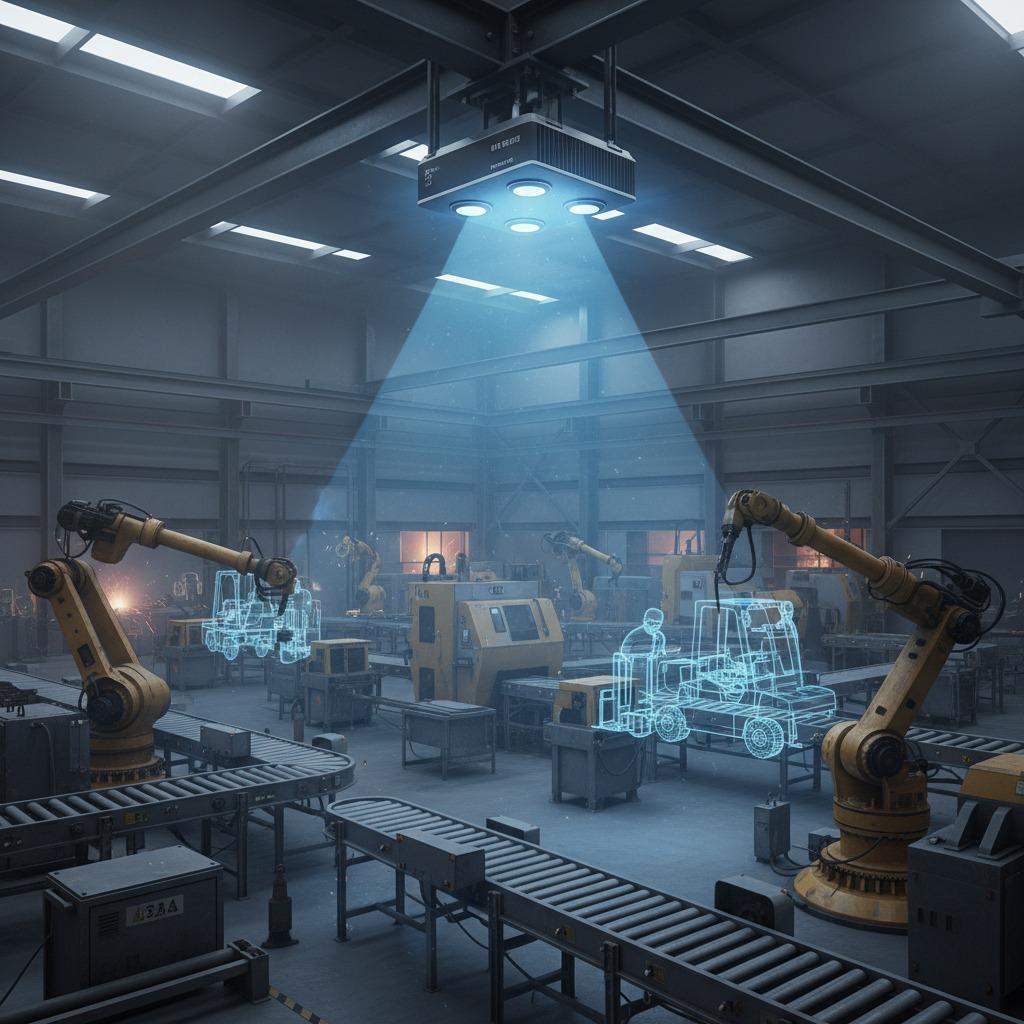
In the fast-paced world of industrial automation, one of the most pressing problems is ensuring reliable detection and monitoring in environments plagued by dust, fog, or poor lighting. Traditional sensors often fail under these conditions, leading to downtime, safety risks, and inefficiencies. This is where millimeter-wave radar mounting becomes crucial, offering a robust solution that penetrates obstacles and provides accurate data regardless of visibility. As industries push for smarter automation, improper setup can undermine even the best technology, resulting in signal interference or inaccurate readings.
Best Practices for Radar Installation to Ensure Optimal Performance
To address these challenges, radar installation best practices must be followed meticulously during millimeter-wave radar mounting. Start by selecting the right location: mount the radar unit high enough to avoid physical obstructions like machinery or debris, yet angled to cover the intended detection zone. Secure mounting is key—use vibration-resistant brackets to handle the rigors of industrial settings. Calibration is another vital step; align the radar's beam precisely using diagnostic tools to minimize false positives. For industrial radar setup, integrate the system with existing automation frameworks, ensuring compatibility with protocols like Ethernet/IP for seamless data flow. By adhering to these practices, you can transform potential pitfalls into reliable operations, reducing errors by up to 40% in harsh environments.
Streamlining Industrial Radar Setup for Automation Efficiency
When focusing on radar for automation, the integration of millimeter-wave technology requires a thoughtful approach to industrial radar setup. A common issue is overcomplicating the installation, which can lead to higher costs and longer setup times. Simplify by conducting a site survey beforehand to identify interference sources, such as metal structures that could reflect signals. Opt for modular mounting kits that allow easy adjustments without full system shutdowns. Testing phases are essential—simulate real-world scenarios to verify the radar's response time and accuracy. This problem-solving method not only enhances radar installation best practices but also boosts overall automation reliability, enabling predictive maintenance and safer workflows. In one case study, a manufacturing plant reduced collision incidents by 60% after optimizing their millimeter-wave radar mounting.
Advanced Solutions with Radar for Automation Integration
Expanding on radar for automation, advanced millimeter-wave radar mounting solutions incorporate AI-driven adjustments to dynamically optimize performance. The problem of static installations failing to adapt to changing factory layouts is solved through flexible, software-configurable mounts that allow remote recalibration. Combine this with radar installation best practices like regular firmware updates to counter evolving environmental challenges. For industrial radar setup, prioritize scalability—choose systems that support multiple units for comprehensive coverage. These strategies not only mitigate visibility and reliability issues but also future-proof your automation infrastructure, driving productivity gains and cost savings. Ultimately, mastering millimeter-wave radar mounting empowers industries to achieve unprecedented levels of precision and efficiency.